Making a Soldered Capillary Joint
Making a Soldered Capillary Joint
Meticulous cleanliness is the secret of success in making soldered capillary joints. First, cut the end of the copper tube square with a hacksaw or tube cutter and remove any external or internal burr with a file;. – or with a reamer fitted to the tube cutter. Clean the end of the tube and the bore of the fitting with wire wool or fine abrasive paper and apply chloride based flux to the cleaned surfaces of the tube ends and the fitting. Insert the tube ends into the fitting as far as the tube stop, making sure the pipes align and the ends fit in securely for a watertight joint.
Making a Soldered Capillary Joint

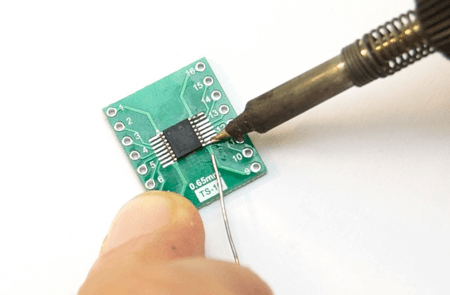
Picture Source https://jeelabs.org/book/1513c/
Integral ring fitting
If using this type of fitting, you now need only apply sufficient heat to melt the solder. Which will then flow to fill the confined space between the tube wall and the inner surface of the fitting. Place a pad of glass fiber behind the joint and apply the flame of the blowtorch first to the tube either side of the fitting. (Except in the case of stainless steel tubing) then to the fitting itself. When you see a bright ring of solder all around the mouth of the fitting. And you will know that the joint is completed. Brush off any excess solder while it is still hot, leaving a fillet around the joint.
End-feed fitting
Follow the same procedure as for integral ring fitting but, after heating the tube and the fitting, apply the solder wire to the mouth of the fitting only. For a 15mm fitting you will need about 13mm of solder wire for a 22mm fitting, 19mm; for a 28mm fitting, 25mm. Bend the solder wire to mark the appropriate length and feed it into the joint. When the indicated length has been fed in, the joint will be nearing completion. As with an integral ring fitting, and the joint is completed when you can see a ring of solder appears all around the mouth of the fitting. Brush off excess solder.
Once you have made the joint, leave it undisturbed until the tube and fitting are cool enough to touch. In most circumstances, the use of a soldered capillary fitting will involve making more than one joint. There will, for example;. Be the two ends of a straight coupling, or three ends where a ‘T’ junction is being inserted in a run of pipe. If possible, make all the joints on one fitting at the same time. If something prevents you from doing this wrap a damp cloth round the joints already made to prevent the solder melting when the next joint is made.
I hope that this article (Making a Soldered Capillary Joint) would be helpful for you.


